Engine Air Filter Basic

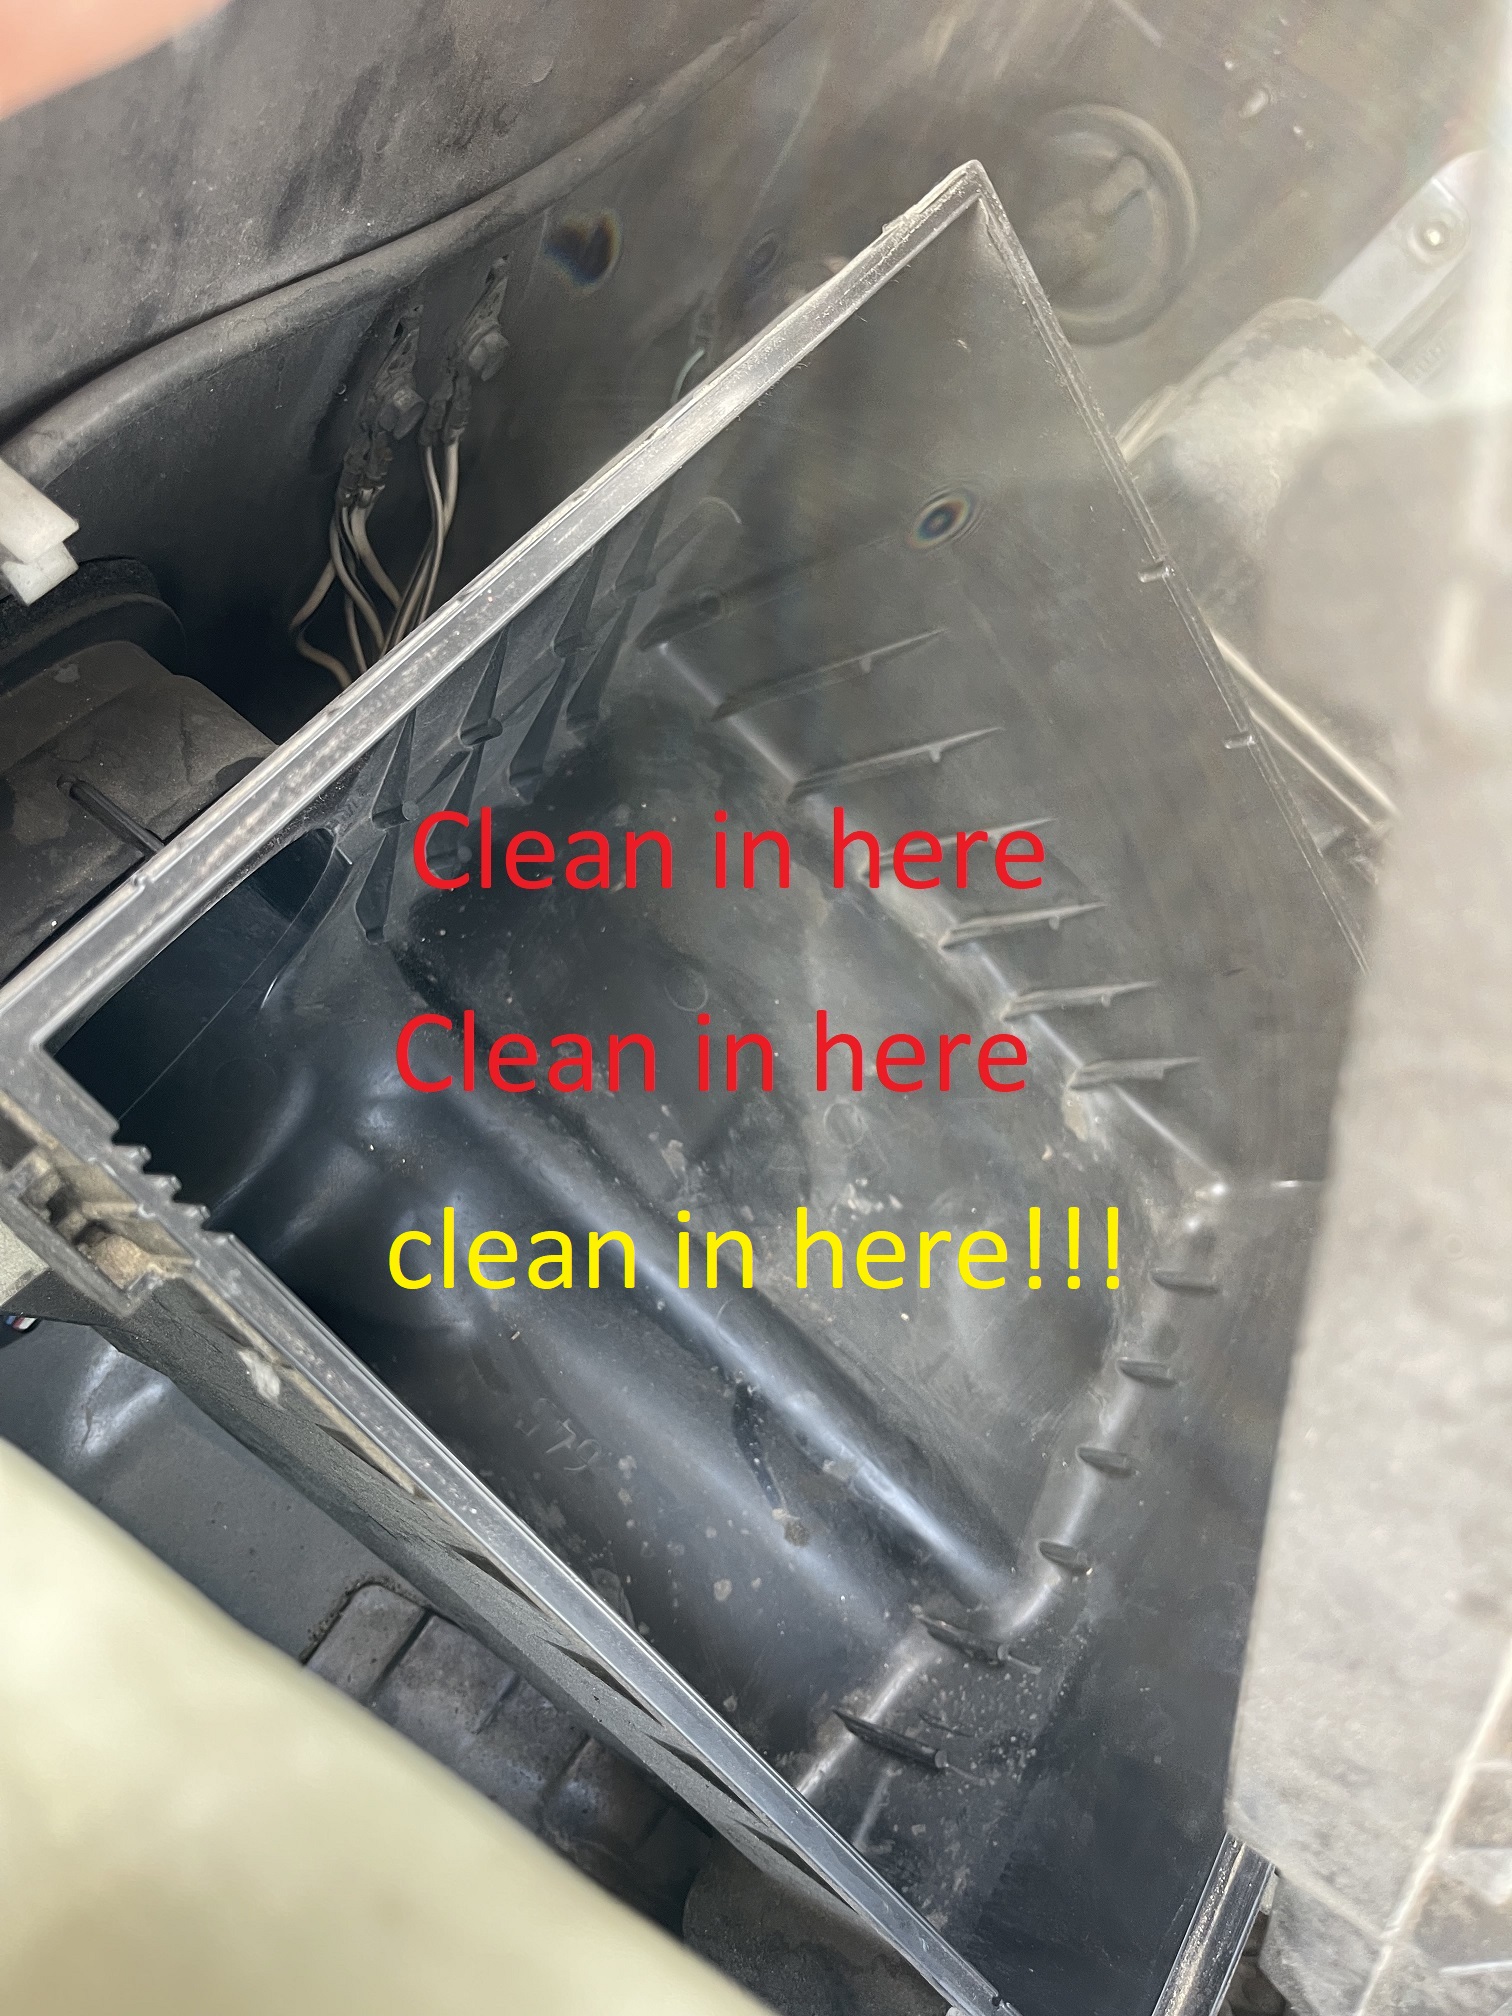
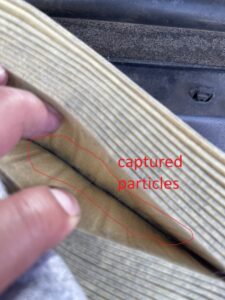
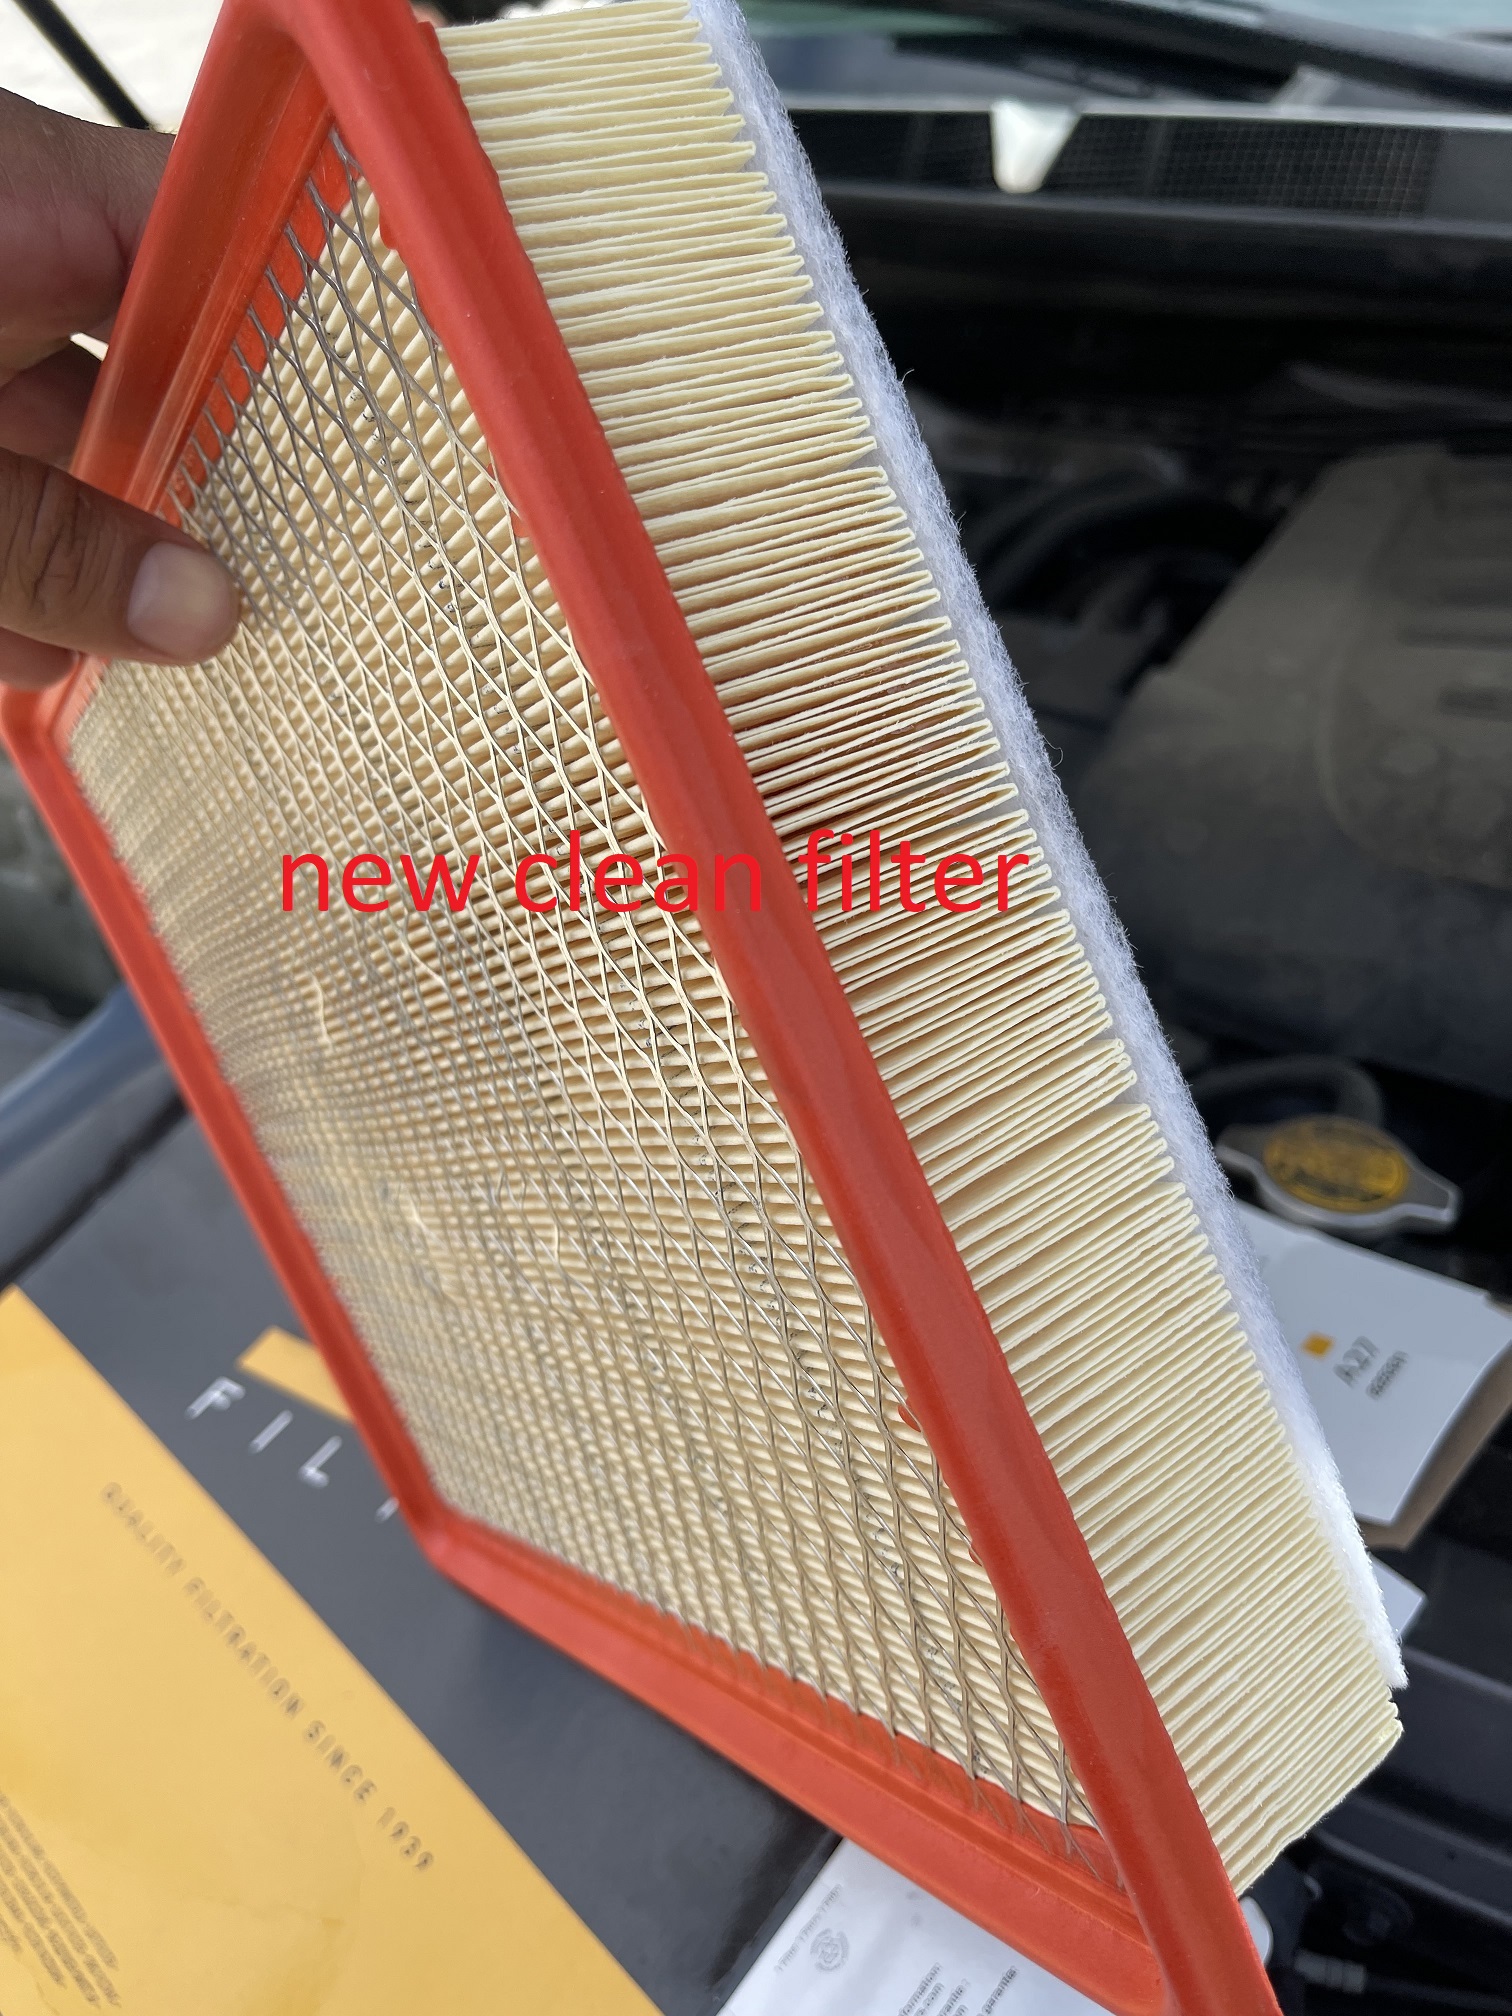
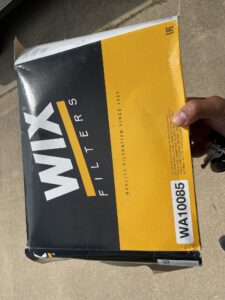
A gasoline, diesel, or ethanal vehicle requires air to make combustion. The air filter prevents all kinds of particles from entering the combustion chamber. If a car did not have an air filter at all and someone threw pebbles or other particles into the intake manifold. The engine would suffer catastrophic damage such as valve bending or piston wrings breaking. Having a dirty air filter can restrict airflow into the engine. This can decrease your miles per gallon and cause other problems such as bad idling. It can also build up gunk in the combustion chamber. Surprisingly it can also start to contaminate the engine oil, making it dirty and less effective. For my 2017 Toyota Tundra SR5 5.7 Liter engine, I decided to go with a high-quality WIX filter. I made sure to clean out the airbox. Be careful removing your old filter. Some of the factory plastic pieces are very fragile.

Performance cold air intakes are great to add power, I don’t recommend them for every daily driver. Usually, a factory intake system is designed to reduce water and road debris from getting on the filter. A performance cold air system is designed to give you the maximum amount of air and I have seen a lot that does not provide much protection from driving through puddles or a dirt road. Not every cold air intake is bad at this, but if it just looks like a bent pipe with a filter clamped on the end, I don’t recommend it.


dirty air box
The air filter housing needs to be cleaned
captured particels
If you look close you will see the particles my filter captured


dirty wix filter
old dirty filter, look how the white is starting to look gray
New Wix Air filter out of the box
New Filter out of the box
FIX Engine Air Filter for the 5.7L Toyota Tundra
WIX Filter for my Tundra

Tundra 5.7 Oil Change With Drain Valve

Oil Drain Valve Allows for easy oil drainage.

Previously I replaced my drain plug / drain bolt with a quality (made in Japan not China) drain valve. This was one of the smartest things I have done. I just connected a silicon tube (you can use rubber  or any hose like tube as well ). One end connected to the valve and the other straight into the drain pan.

I recommend using a tube that fits snug with the drain valve. Also don’t use to long of a hose. You have to make sure the end of the hose just fits in the pan slightly but does not go all the way to the bottom of the pan or what ever your pouring the oil into. This is so you can quickly drain the pan.

Without a drain valve, you can easily spill out as it shoots out from oil pan. Also since the stream of oil constantly changes, you have to re-arrange the pan.

The oil drain valve allows you to drain the pan without using any tools. You steal need the filter wrench to remove the filter.

I used AMSOIL Signature Series 0W-20 Motor Oil with the AMSOIL Filter. The 5.7 Tundra Oil Change Interval is 10k Miles (requires synthetic oil). I usually try to change it at 10k but I was actually over 3k miles this time. I was not worried at all. I did an oil analysis before. I primarily drive at higher than normal RPM on the highway (my style of driving / same if if you have a ECU tunning / tow mode / pedal commander). The oil analysis I did at 10k miles for my style of driving said I should be good to keep the oil for up to 15k miles.

My next project is going to be to replace the sparks plugs / air filter / cabin filter. I will probably do this this month or next month.

click here to get the world’s best synthetic oil – https://www.amsoil.com/shop/by-product/motor-oil/?zo=5237175

Tundra Brake Fluid Change Notes

For most of the Toyota Tundras with the 5.7L Engine you have to use the Toyota Tech Stream Software and the Cable that plugs into the OBD2 Port under dash. Toyota sells the cable for $300, I used a generic $30 cable and it worked fine. Tech Stream has a 2 day use fee of $20 (current price) as of writing this.

The software will basically walk you through the process. It will electronically activate one of the braking system components. This is the reason why you need to use the software. If you don’t you could get air in your brake lines. You also have to be very careful to make sure you do not drain the brake fluid reservoir when bleeding the brakes. The reservoir is very small and this is easy to do. If you drain it, you could again put more air into the brake system. Make sure your brake lines are not leaking. Also I have read from a Toyota Tundra owner that he found part of his emergency braking system was damage, so check that while you have the car safely lifted. From what I read, you can also use this cable and software to properly change the transmission fluid.

if you want to get brake fluid

Click Here: https://www.amsoil.com/shop/by-product/other-products/brake-fluid/?zo=5237175


Horrific Oil Change Experience

The 5.7L V8 Toyota Tundra uses a cartridge oil filter. This is different than the spin on oil filter. Basically with the Tundra you spin off the oil filter cover then replace the oil filter element and put the cover back on. The spin-on oil filter that is common on smaller cars houses itself so you just throw the entire thing away. Anyways I was debating on replacing mine with a metal one. One problem with a metal filter cover is that you could potentially damage the threads a lot easier compared to the stock plastic cover. For the first time I did not spill a gallon of oil on my driveway and through everything was going to be good, but yesterday I broke two oil filter removal tools trying to unscrew my oil filter cover. My plastic filter cover basically seized in the engine most likely because I over-torqued it during the last oil change (I only used a torque wrench on the drain bolt).

I watched a YouTube video of some guy tapping the filter and surrounding area to unseize the filter. That did nothing in my case.   I ended up having to cut off the plastic portion that was sticking out of the engine. Then I carefully cut two groves on the plastic portion that screws into the engine. I was then able to lightly pop out the plastic pieces. I made sure the threads were not damaged. I then went to the local automotive store and was surprised their was one metal cover in stock that fit my vehicle. I bought it and was able to continue my oil change. I looked at Toyota Brand replacement and it was actually more expensive than the metal one. I don’t think the metal tabs on this aftermarket filter will shear off like the stock plastic one.

A good thing that happened is that I was able to install a drain valve. This valve basically replaced the stock drain bolt in the pan. So the next time I need to change my oil I can just hook up a plastic tube in the valve and another one in a bottle. Doing this will prevent a large spill. The oil filter cover actually has a valve built in it as well. You screw off a small portion on the bottom and connect a fitting and you drain the oil from it (instead having oil spill from the filter cover when you remove it) .

Gave Away the Ford FE Big Block before wasting money!!!

For
Bare Block Ford FE

I gave away my Ford FE Big Block Engine, cylinder heads, intake manifold, and oil pan for free. I initially drove a far distance to pick this block up for $100. My initial idea was to get a stroker kit and rebuilt the engine. Not too familiar with Ford Engines, I had assumed nobody would have really bored out the engine before.

So being new to Ford FE Big Block Engines I decided to buy a book on rebuilding them. I believe within the first two chapters and some help from the author, I found out this Engine was a waste of time and money. The bore was at 4.11. Someone had bored this engine out a few times before I got it. I measured the distance between the cylinders (using a drill bit through the coolant passage method) and determines it was a 360 Block from 1969. It would not have been safe to bore the engine out anymore.

I considered sleeving the engine. But the local machine shops in the area are off the charts overpriced. After more consulting with people throughout the US, we determined this engine should be scrapped. So I posted it online for Free and it was picked up from my yard in a couple of hours. If this was a Cobra Engine it would have been worth restoring, but it was not.

I think my next engine project I am going to start out with an engine bare block that is brand new.

Picking out spark plugs and spark plug wires

You generally cannot go wrong with installing the same brand and model number spark plug and wire set the certified car dealership will install. In some instances, a car manufacturer will issue out Technical Bulletins or internal updates when they pick a different model.
Be very cautious when shopping online and seeing claims of massive power increases with a certain wire-set or spark plug. These claims are usually false. If you plan on using a different brand spark plug or wire set, I recommend looking at long term reviews on car forums from people who have the same car.
Some ignitions systems are very sensitive to changes and the programming is specifically fine tunes for factory equipment. You can possibly loose horse power or fuel efficiency if you pick bad equipment. Some spark plugs and wire sets are not durable. I have read complaints about the wires shorting out because the insulation around the wires was cheap. Some people went as far as slicing open the factory wire sets and comparing them with aftermarket wires. They noticed some aftermarket wires were actually thinner than the factory, this can result in less current going into the spark plug itself.
You might be tempted to buy a plug because it is advertised as being platinum or iridium. Silver is actually the most conductive metal. It was originally used in wiring of houses of wealthy owners but because it was able to corrode quickly, we use copper. To get the full benefits of a potential more powerful spark your entire electrical system in your vehicle would have to use silver as the conductor. You then would have to have custom programming / calibration on your fuel and ignition computers to be effective. Assuming you can get silver spark plugs for your car, the spark plug itself would have to be changed very frequently because it would not be made for high mileage.

Removed the Dealership Installed Karr GPS / Disabler


only cut wire on karr system tundra panel removed
screw location for tundra steering column panels underneath tundra dashboard

For a while now I always thought about removing the dealer installed Karr Alarm / GPS tracking system. I never wanted this installed on my Tundra in the first place. Dealerships will install generic GPS systems like this so the Dealership can save money. They buy the systems at a wholesale price. Because the systems are not specifically designed for you vehicle, you can run into problems with them. After I purchased my Truck I had an after market Auto Start & Alarm system put in. I noticed some days the Auto Start would not work and I would have to disconnect and reconnect the battery. Some days my car was disabled and I would have to again disconnect and reconnect the battery.

So I finally removed it. I basically took of the trim around the steering column of the Tundra and below panel near the pedals. I initially thought I would have to remove the airbag to get to the screws of the steering column panel but I realized I just had to put in the key and manually turn the wheel to the right of left. I was not a fan of the Vampire Clips used in this system. After I removed each clip I covered the exposed wire with electrical tape to avoid a short circuit down the road. Their was only one wire that was not clipped on. I am assuming it was part of the ignition system to prevent the car from starting.


Nitrogen Air and Tundra Fuses


Tundra Fuse on the Left Regular Mini Fuse on the right
Tundra Fuse on the Left Regular Mini Fuse on the Right

The other day one of my tires became low in air and I remembered I did not use nitrogen to fill the tires I purchased. Nitrogen is used in Aircraft tires because their is little expansion and compression when temperatures change. This prevents the tire from going flat in flight. A big difference between a tire shop for aircraft and a car tire shop that claims to have nitrogen is that the aircraft tire shop will have nitrogen that comes from tanks prefilled with nitrogen.  I have seen a lot of tire shops that have a device that supposedly extracts nitrogen on the go. I am not really confident that your getting quality nitrogen that way especially when you can’t see the mechanic use the machine.

So I borrowed my friends tire inflator that uses the cigarette lighter outlet in the vehicle. His inflator instantly burned out my fuse. I tried plugging in my cell phone charger and verified their was no power. I then used a multimeter to determine what fuses had burnt out. I initially looked in the fuse box in the engine compartment. After reading several post I found out it is actually under the drivers side dash board in a very hard to reach location. I had to press the emergency brake pedal down all the way and lay down in front of the seats. I found out the fuses are not just mini fuses, their actually shorter than the mini fuses you see commonly stocked at the parts store. I still was able to get a mini fuse installed because the connecting points had the same dimensions.


Replaced Porsche 928 Neutral Safety Switch

722.3 Transmission

The 1989 Porsche 928 S4 with the automatic transmission uses a Mercedes 722.3 Transmission. I was having problems shifting from drive to reverse. I would actually sometimes turn off the car then put the car in park, turn it on again and then into reverse. The transmission was rebuilt, I replaced the vacuum modulator, governor as well as rebuilt the valve body with a shift kit.

The Porsche Community only has a few transmission gurus. So, I started doing research on Mercedes forums and found out the Neutral Safety Switch was the problem. I could not find replacement instructions on any Porsche forum so I ended up using an article written by a Mercedes mechanic. The process was very simple. I already had the exhaust removed to make space and the car jacked up in the air. I only had to remove 2 bolts and disconnect the shifter cable. I was surprised on how simple and expensive the part was but it obviously worked because it prevented me from going into reverse.

Finally installed brake booster and master cylinder

Porsche 928 Brake Fluid Reservoir
Cleaned reservoir


I finally installed the brake booster and master cylinder. I had trouble getting the old brake booster off. I actually had to use a Dewalt saw to cut the bolt in the back that connects to the brake pedal. Some mechanics said I needed to count the amount of turns for the nut on the brake pedal so I could put the same amount of turns on the new one. I ended up looking at a manual and everything is actually don’t by measurements. I had to buy an ultrasonic cleaner to clean the reservoir. A new Porsche reservoir for some reason cost over $400. So I just bought a harbor freight cleaner for under $100.